Creating a new plugin
QtCreator wizard (C++/Qt only)
The recommended way to create a new C++/Qt plugin is to use QtCreator and get started by creating a new project using the project wizard for nymea plugins.
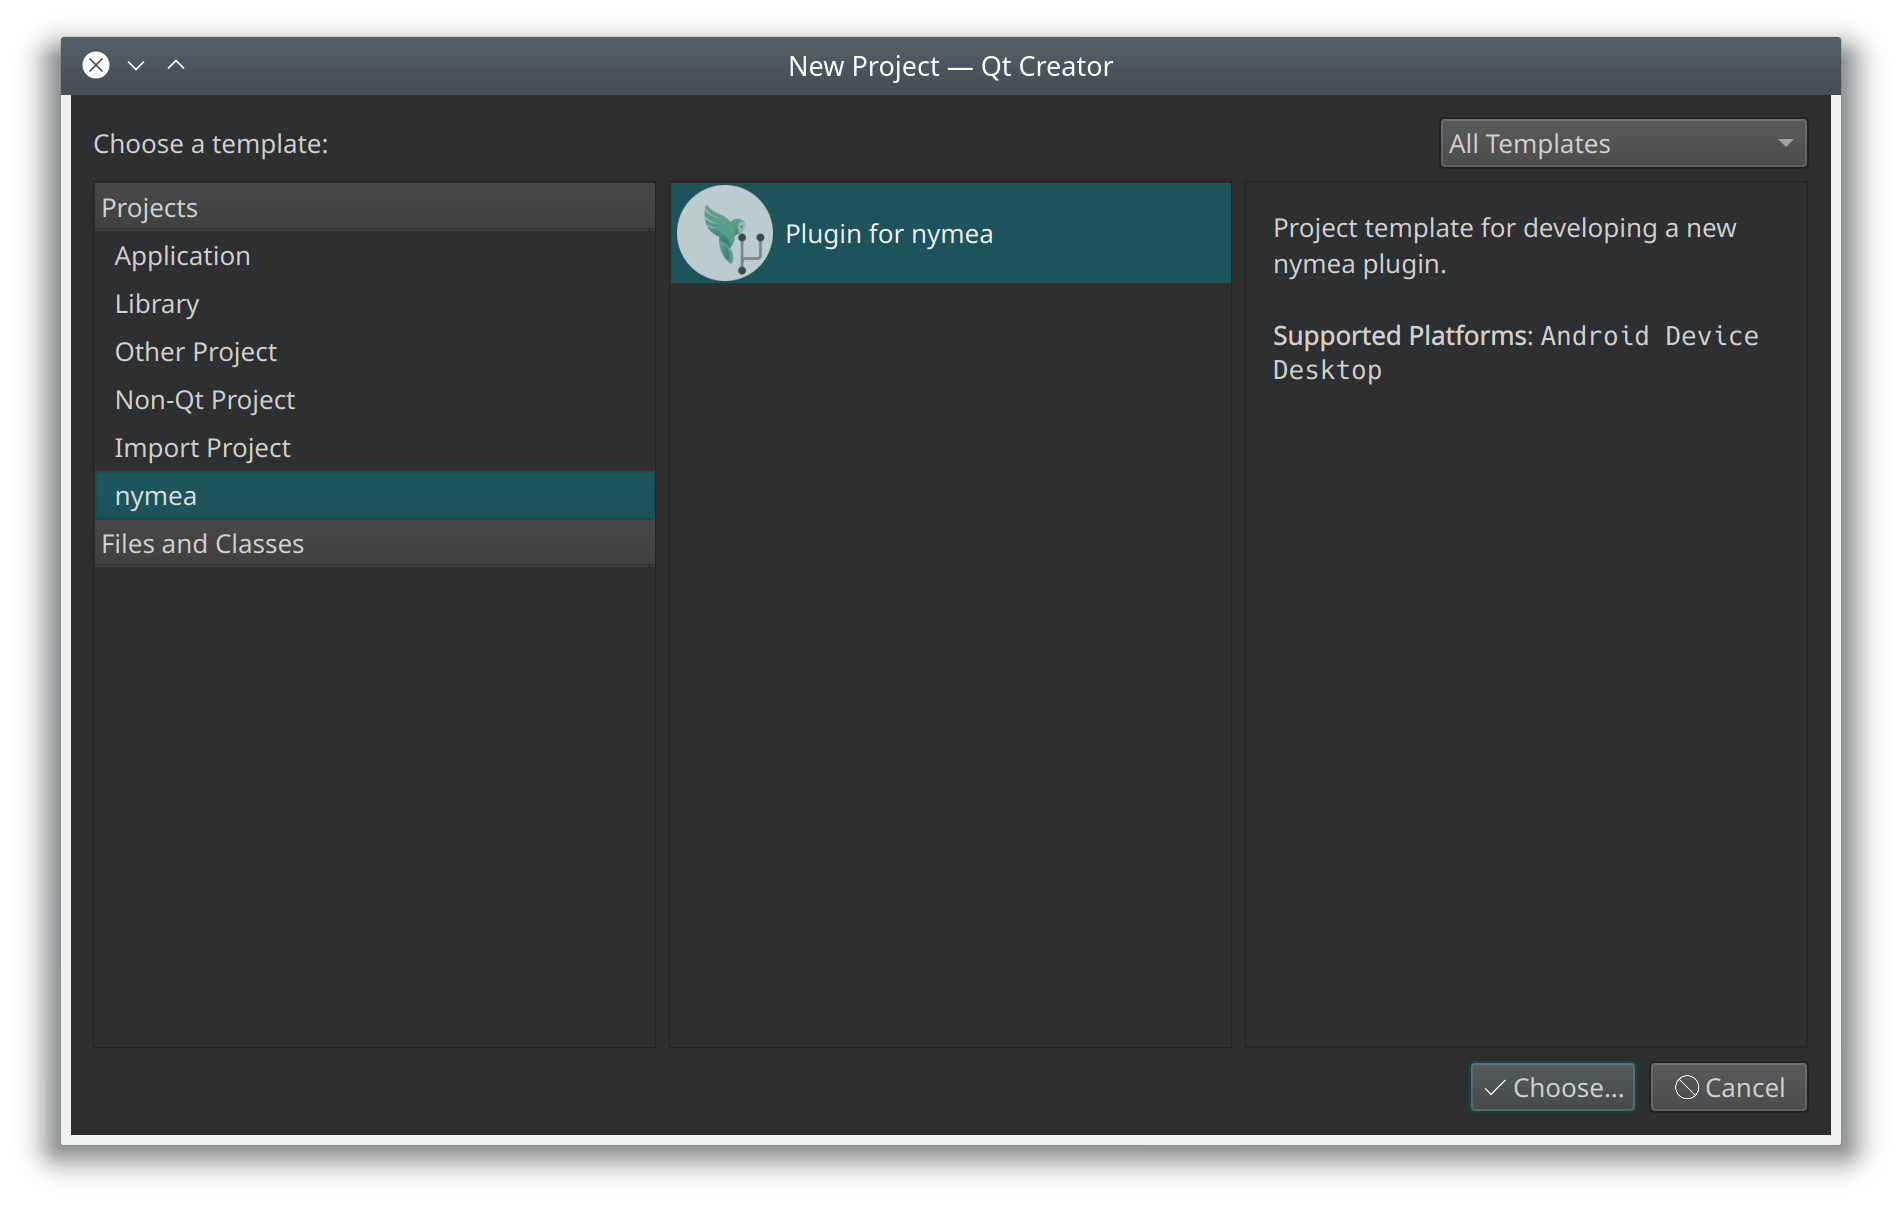
Go to File -> New File or Project. Select nymea in the projects list and then Integration plugin for nymea.
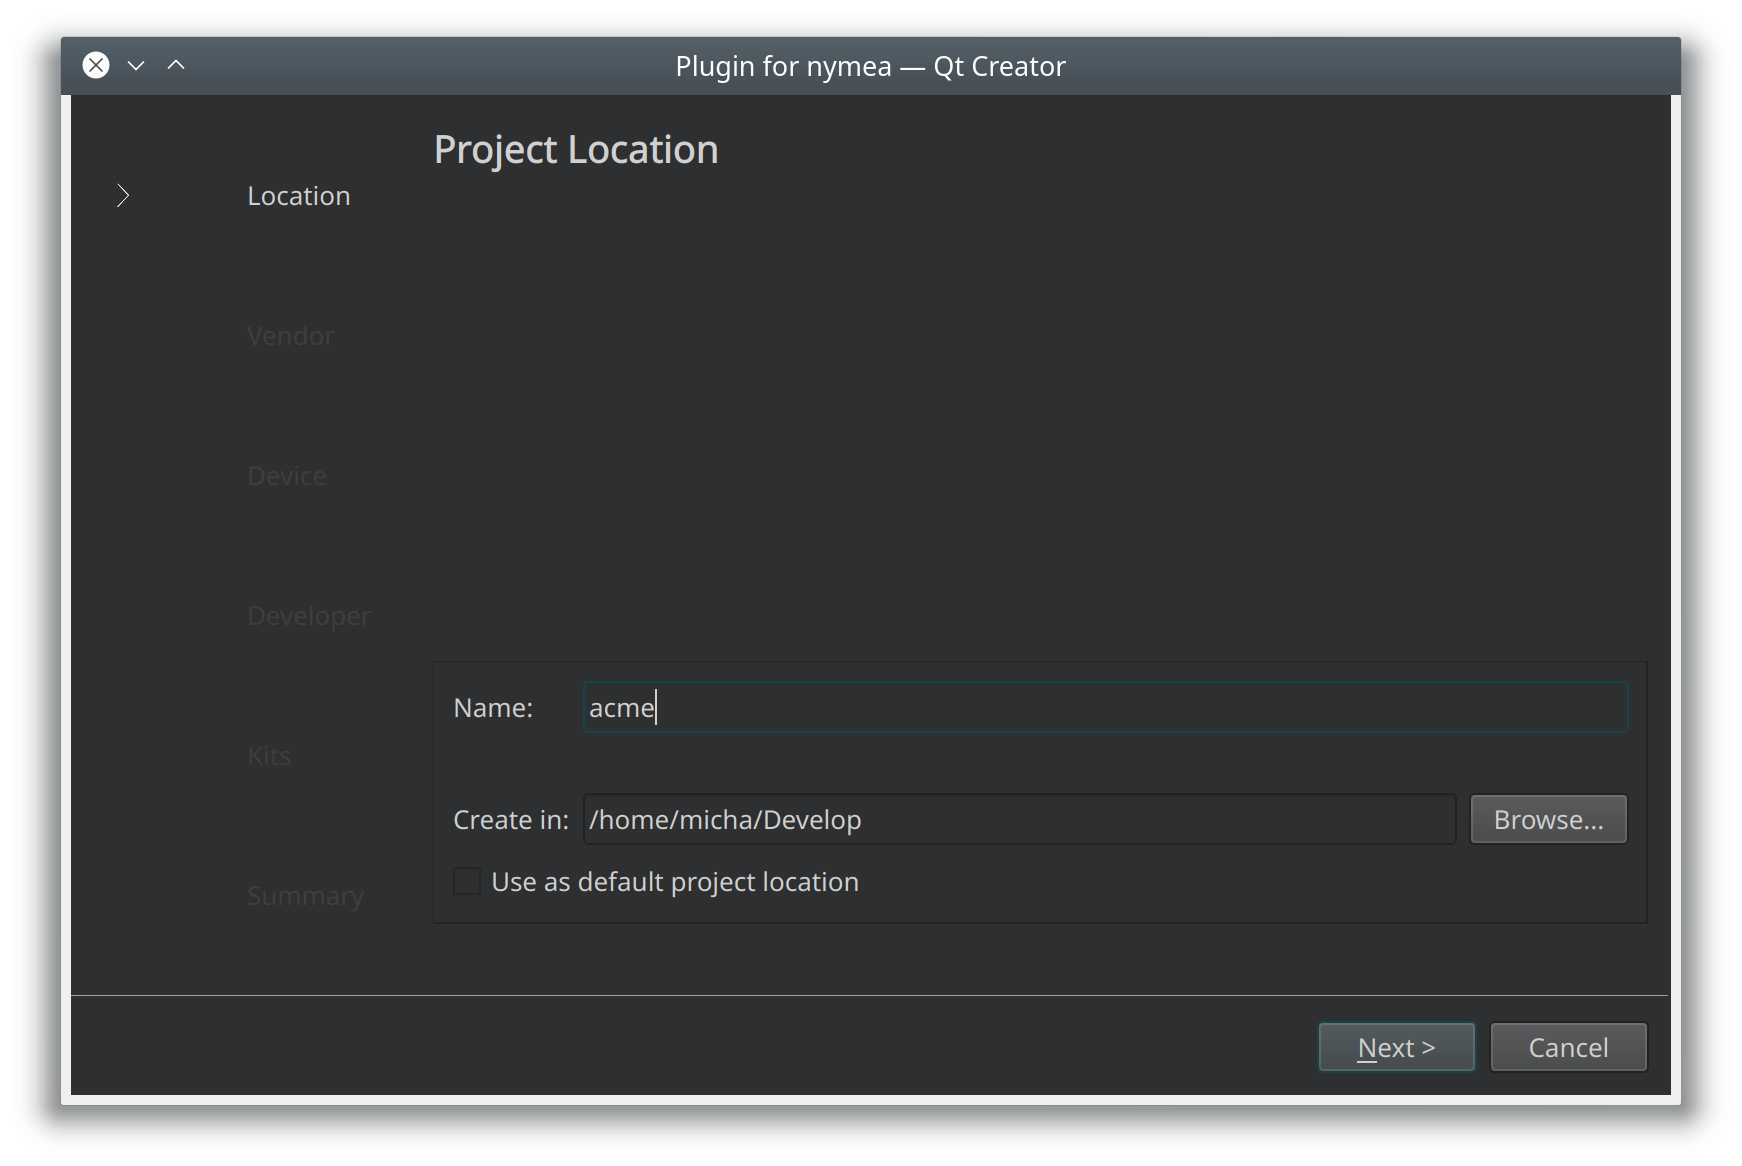
Follow the steps in the wizard to complete the setup. The first step asks for the location of the project. For example a plugin integrating products of a company named “ACME Inc.” would likely start with the project location “acme” which would create a folder named “acme” and store the plugin template code in there.
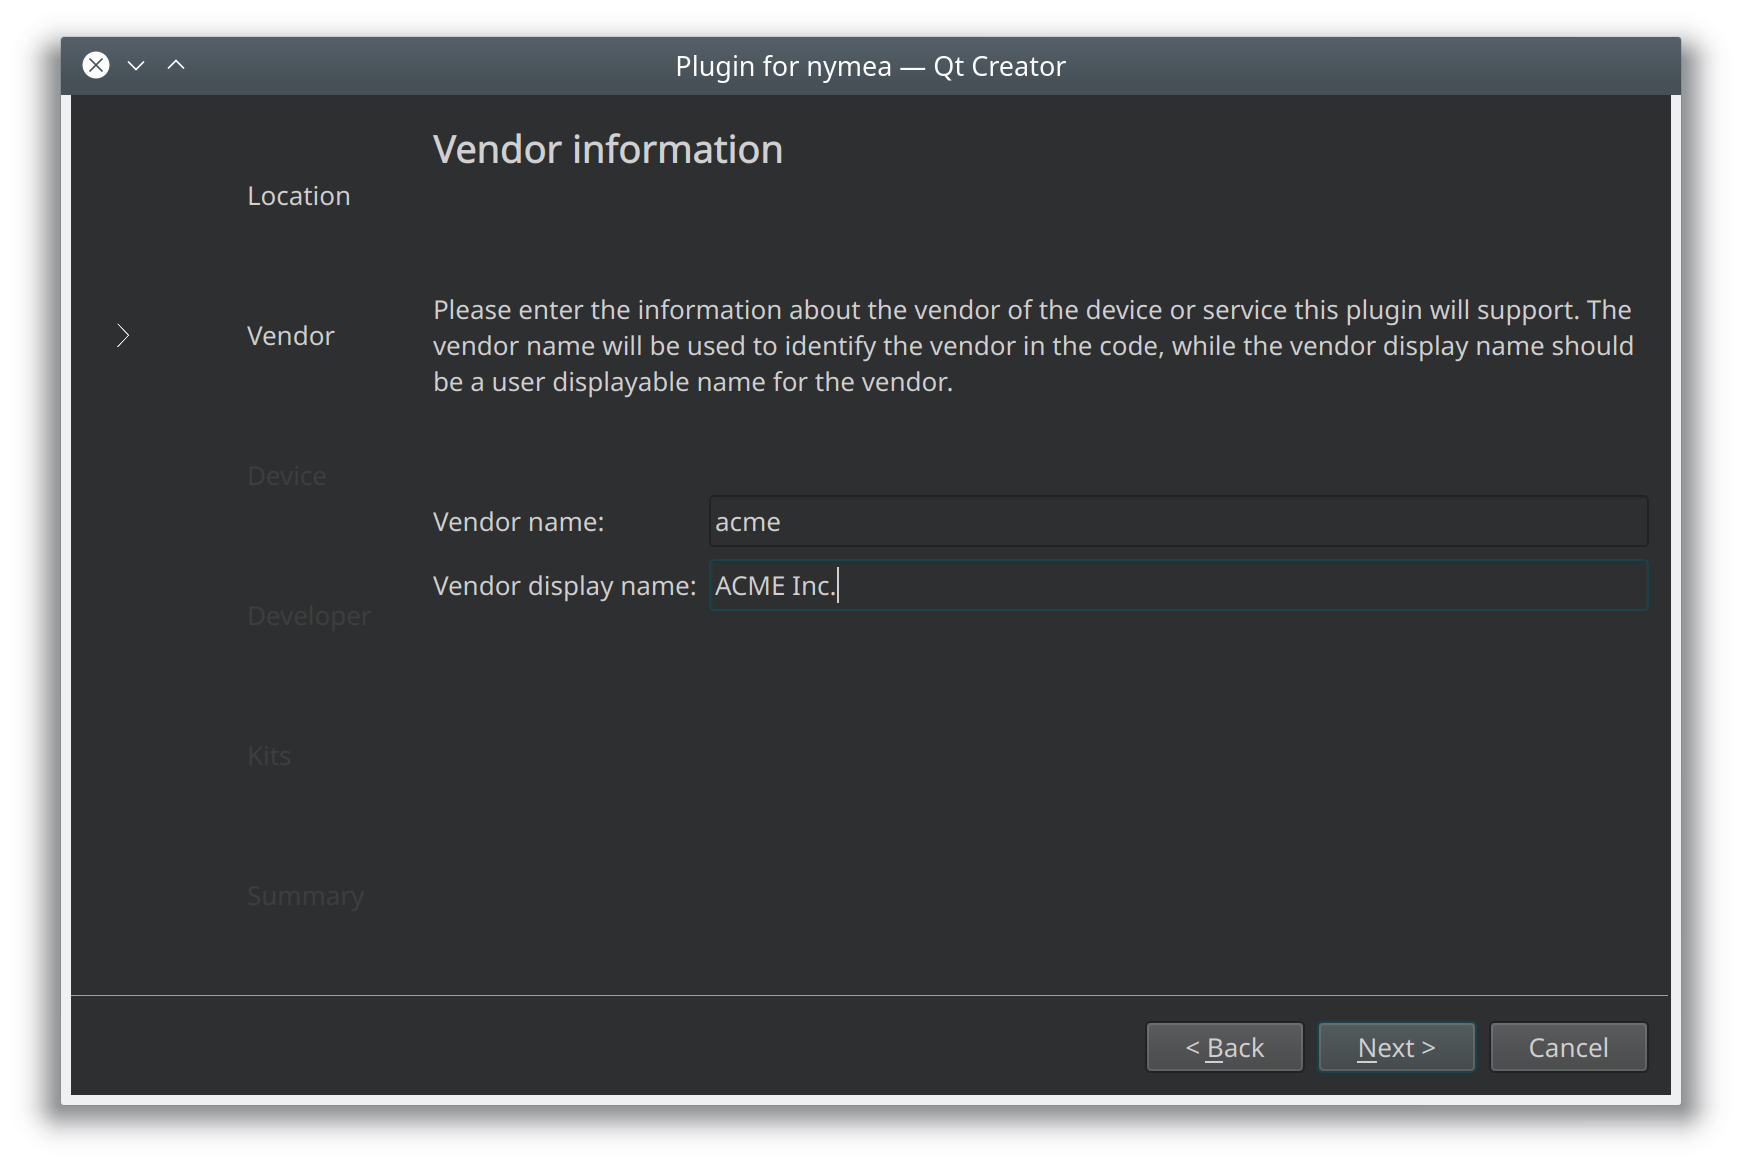
On the next page, enter the vendor information consisting of a name and a display name. The name will be used in code to identify this vendor and for thus most not contain any whitespaces or special characters. The display name however will be presented to the user and should be as close as possible to the actual company name, including punctuation and special characters.
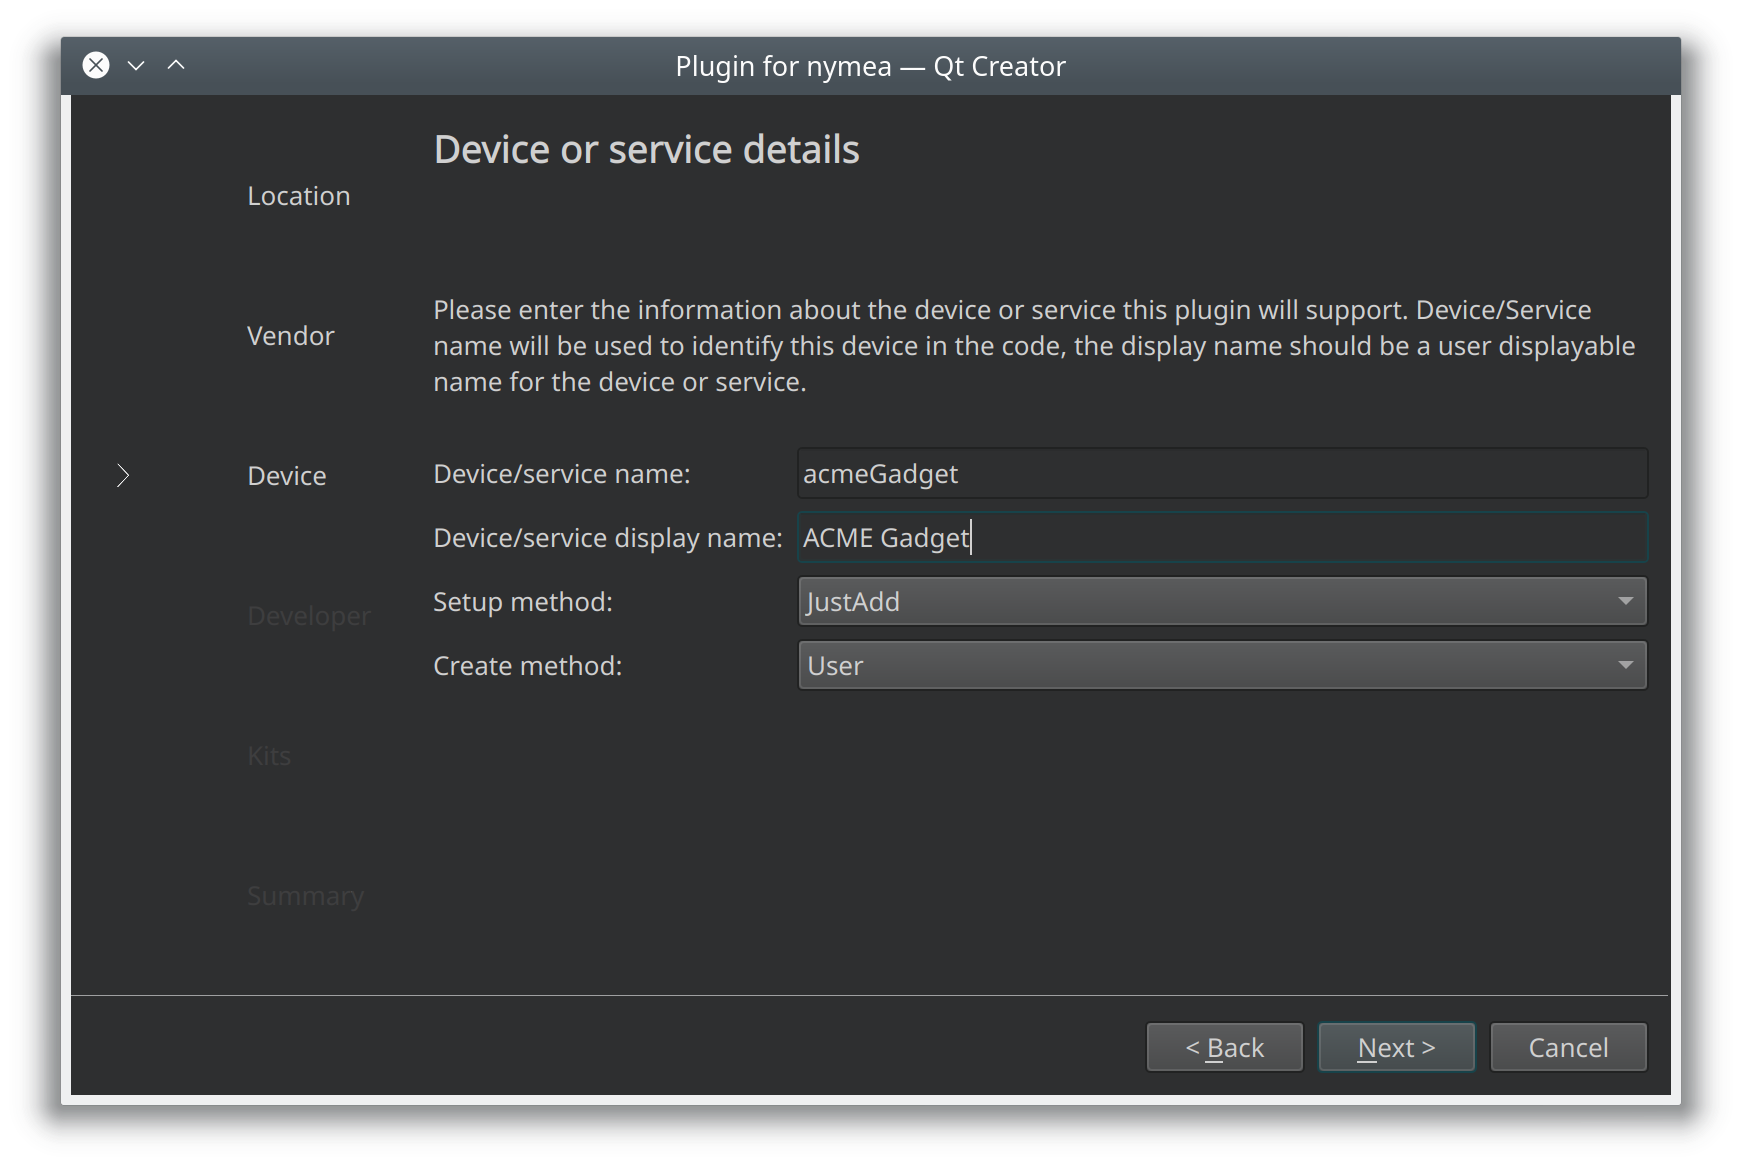
Once the vendor information is set up, the wizard will ask for the first device or service to be added. The same concept applies, using name for identifying this thing in code and providing a display name which will be presented to the user.
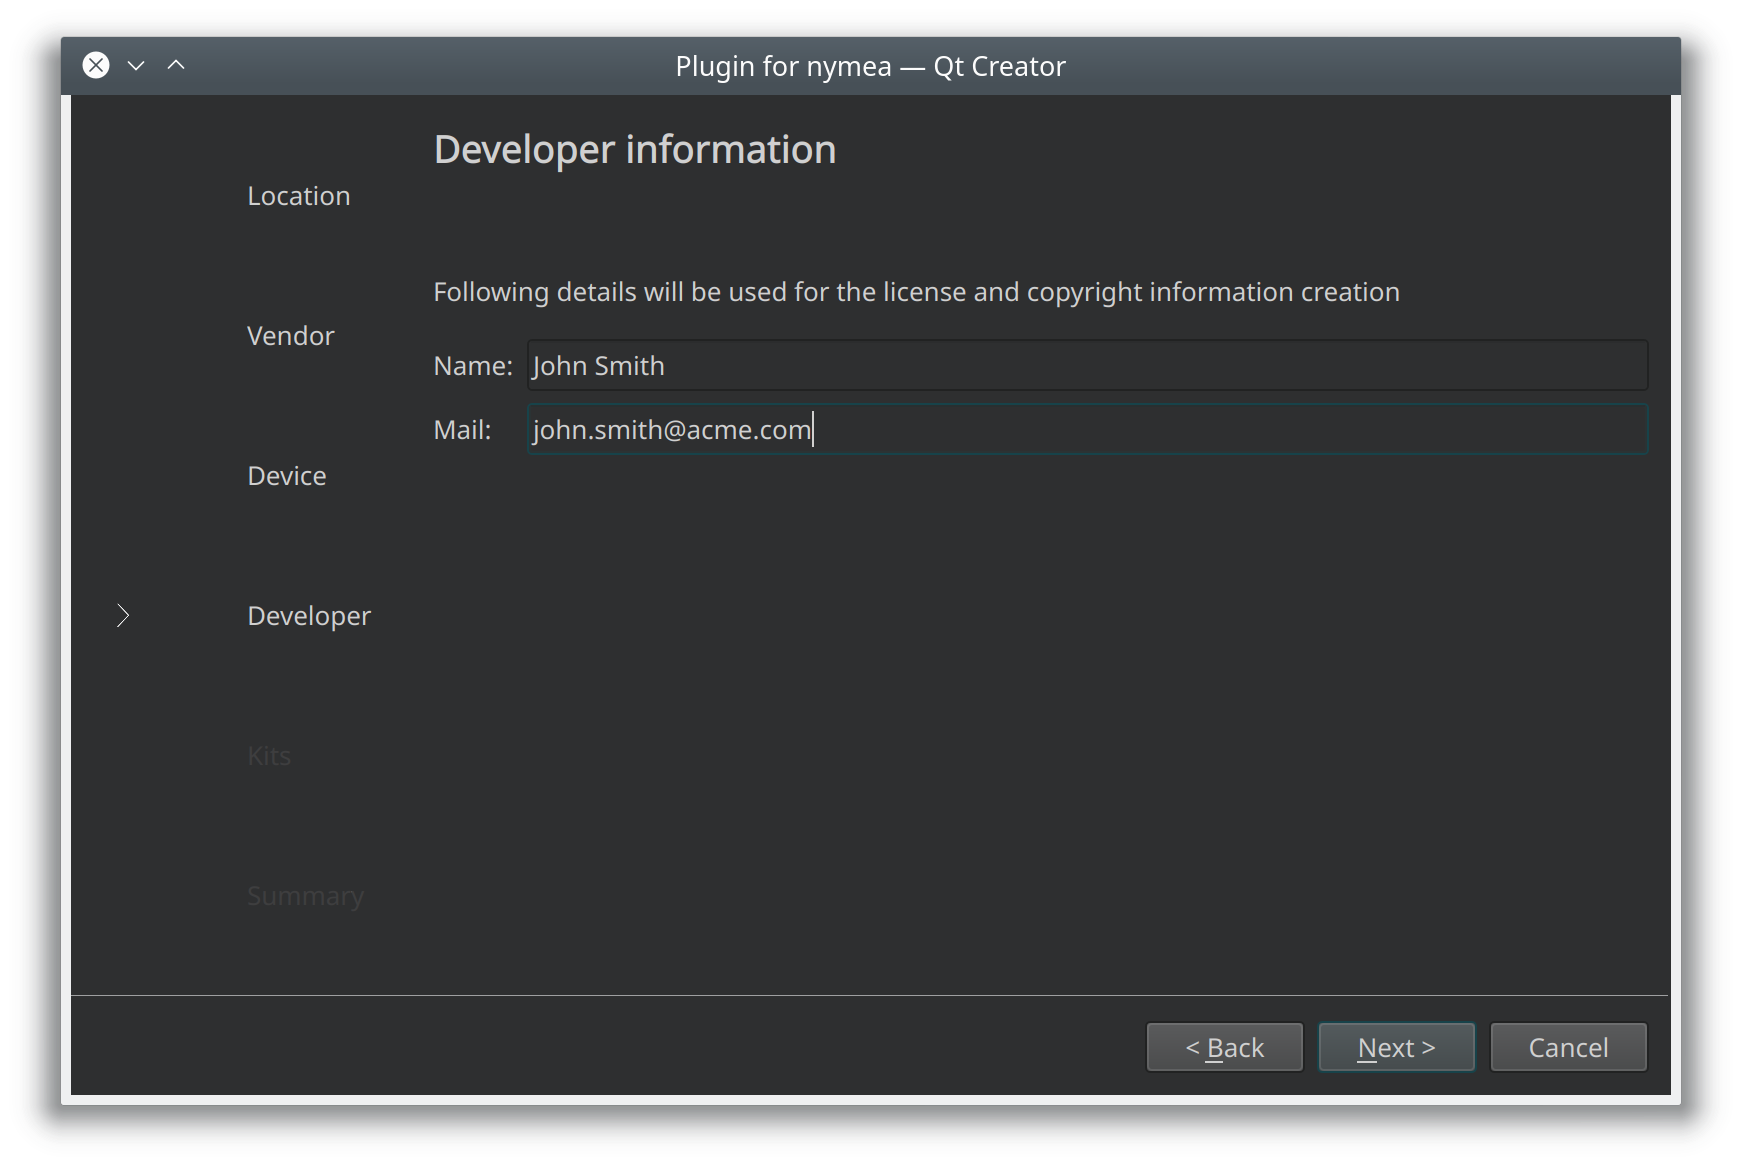
The last step is to add information about the developer. This information will be used in license headers, copyright information and other places where contact details for the plugin developer are stored.
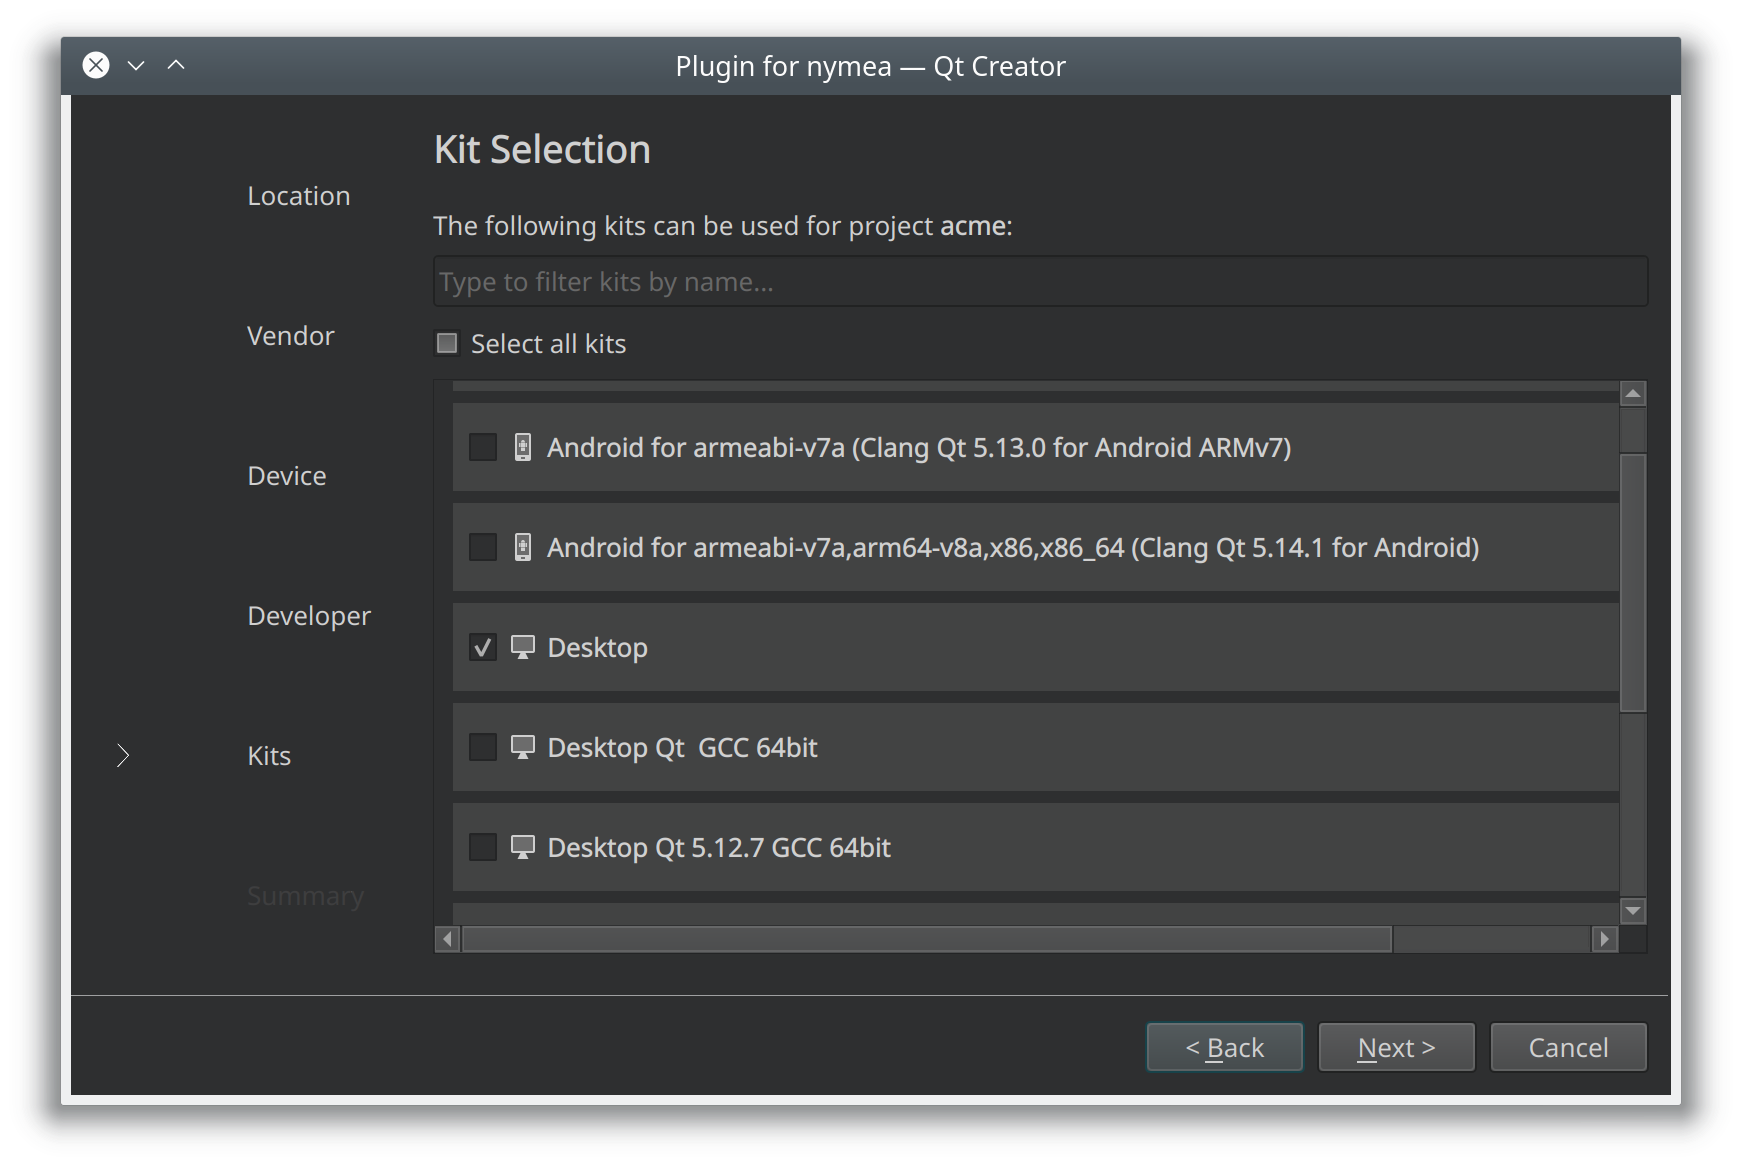
Now the plugin is configured. Qt Creator will ask for a build configuration to be set up. Check all the options you need to build the plugin for. Normally just keeping the default of “Desktop” is fine for development on your development workstation.
Manual project creation
The shortest path to create new plugin without using the QtCreator wizard is to clone the examples repository.
git clone https://github.com/nymea/nymea-plugin-examples.gitThe repository contains a folder named template with subdirectories for the supported programming languages. Copy the entire folder contents of the language of your choice and start by renaming the files to the desired name. The terms “template” and “example” should be renamed to the plugins name.
cp -r nymea-plugin-examples/templates/cpp my-plugin
cd my-plugin
mv template.pro myplugin.pro
mv integrationplugintemplate.cpp integrationpluginmyplugin.cpp
mv integrationplugintemplate.h integrationpluginmyplugin.h
mv integrationplugintemplate.json integrationpluginmyplugin.json
cp -r nymea-plugin-examples/templates/cpp my-plugin
cd my-plugin
mv template.pro myplugin.pro
mv integrationplugintemplate.cpp integrationpluginmyplugin.cpp
mv integrationplugintemplate.h integrationpluginmyplugin.h
mv integrationplugintemplate.json integrationpluginmyplugin.jsoncp -r nymea-plugin-examples/templates/python my-plugin
cd my-plugin
mv integrationplugintemplate.py integrationpluginmyplugin.py
mv integrationplugintemplate.json integrationpluginmyplugin.jsoncp -r nymea-plugin-examples/templates/js my-plugin
cd my-plugin
mv integrationplugintemplate.js integrationpluginmyplugin.js
mv integrationplugintemplate.json integrationpluginmyplugin.jsonIf there is a project file in the directory, edit it and adjust the file names in there accordingly.
